We are so excited to share our new favorite space with you! We realized after spending so much time at home this year, that it was time to put our backyard to good use. It was time to buy the kids a playground! What did “buying a playground” really mean in my mind? Well, in true Lexi fashion… if you’re going to do something, do it right! So, full backyard renovation – check! I am excited to walk you through each step in the process and hopefully you’ll find some useful information along the way. I will break this down into each portion of the project to provide as much insight as possible.

Playset

The reason this all began. My mom agreed that we needed a playset for the girls. She was so kind to gift us the best playset! Nana purchased the Canyon Creek Play Set from Backyard Discovery. We purchased it along with the installation (completed by a company called, Go Configure – highly recommend, they were great). The playset arrived in two 10’x3’x2’ boxes plus the 10’ slide in a plastic covering. They delivered it into our garage where we stored it until the space was ready for it to be installed.

Retaining Wall

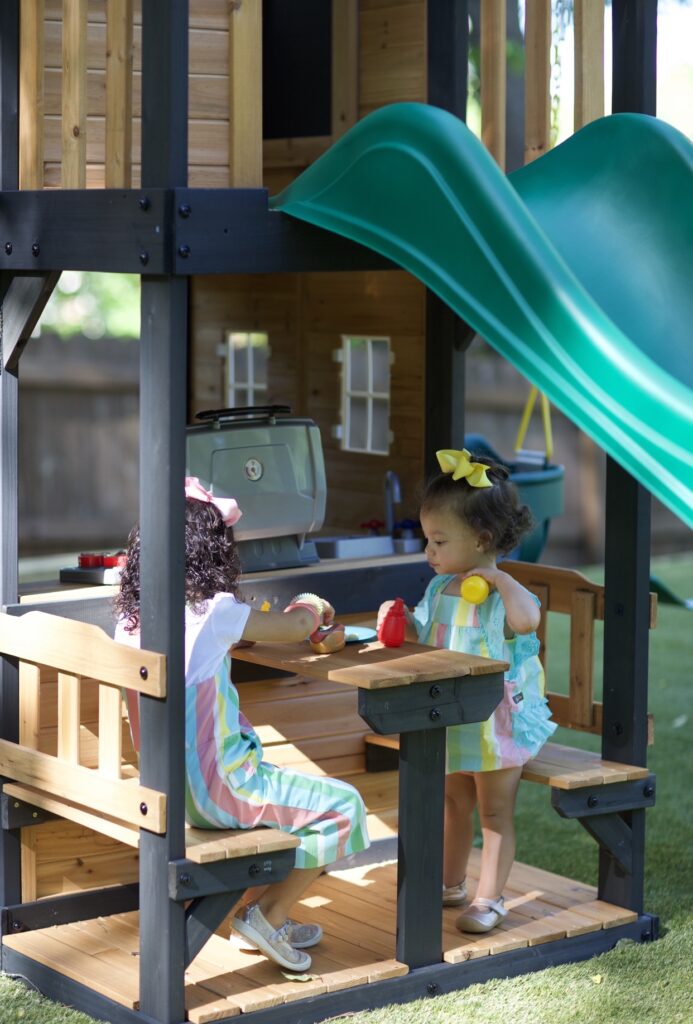
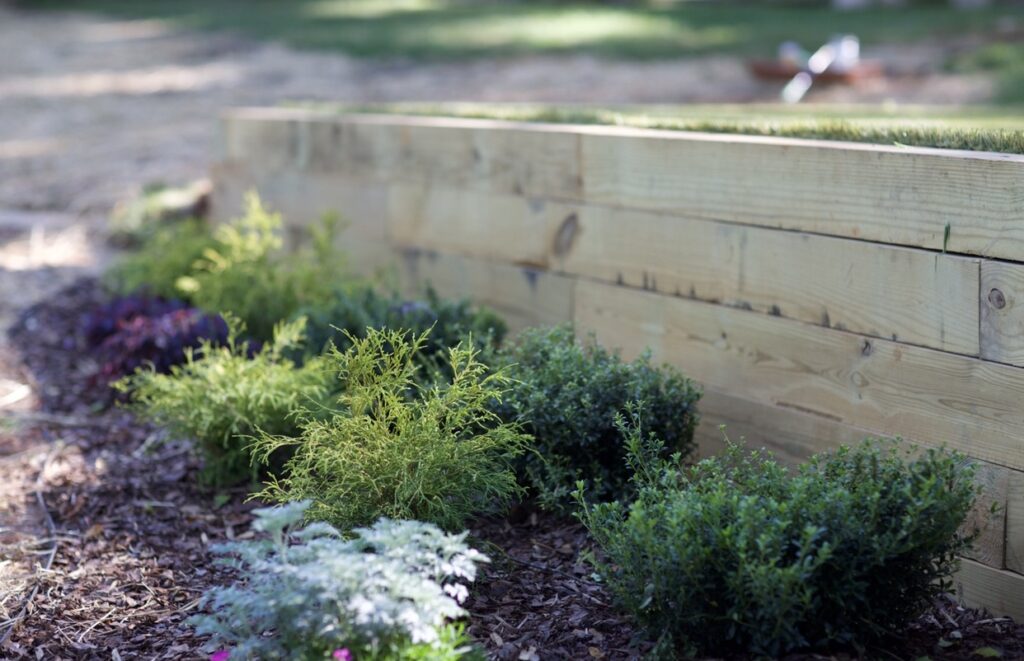
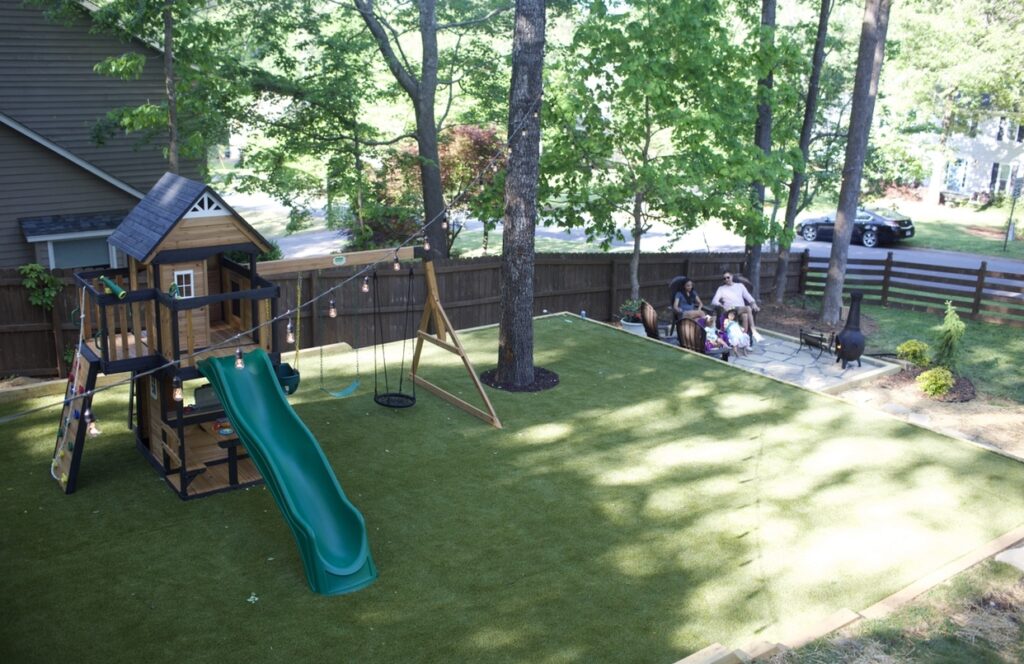
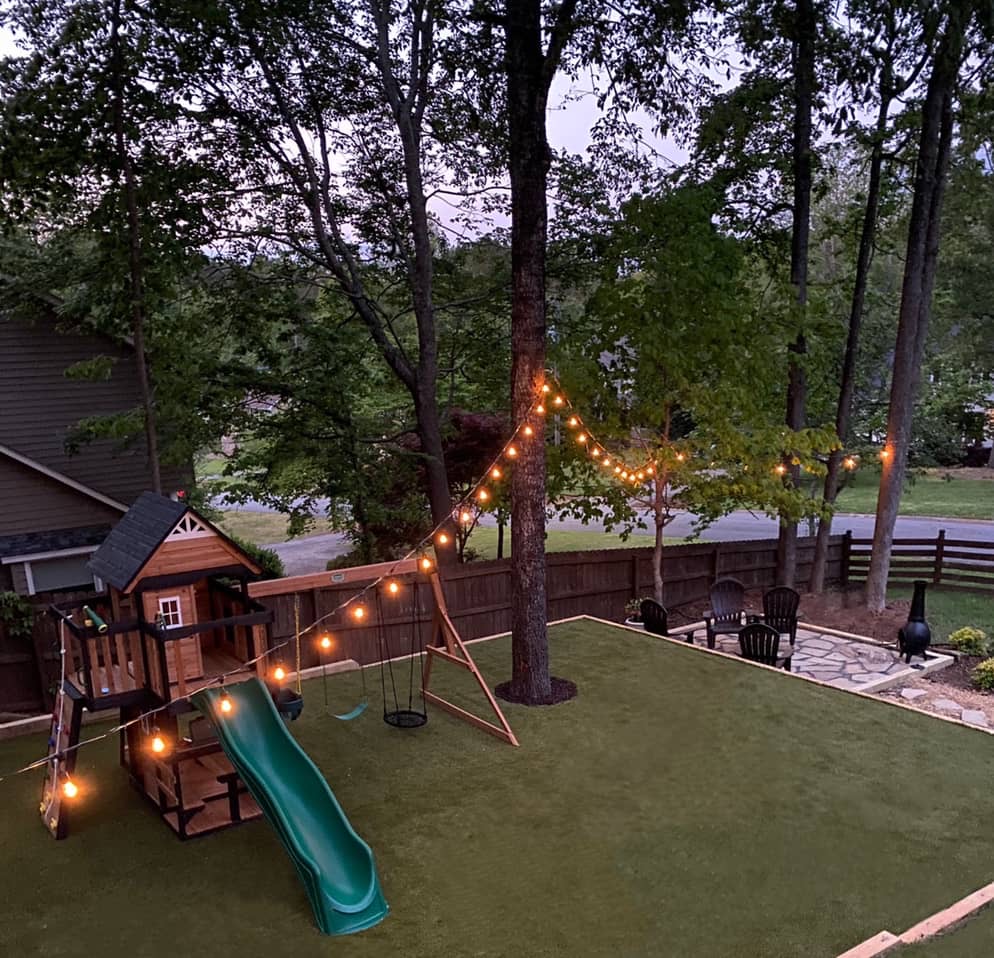
We originally thought we would grade a lower area of our lawn that is relatively flat, but after spending many hours outside scoping out the plans we realized this area was full-sun practically all day. We wanted an area that was slightly shaded as Georgia summers can get brutal. Make sure when selecting placement for a playset or any type of outdoor feature, to consider tree coverage, the direction the sun rises and sets, and water drainage. All of these things can drastically impact how much utilization you get from the area. We ultimately decided on an area in the middle of our yard. For this to work, we needed a retaining wall. We decided to go with landscaping timbers to keep cost slightly less than what it would be had we gone with stone. We wanted to have the entire 30’ x 35’ area boxed in and separate from the grass since we were going to install artificial turf. When installing the retaining walls, they placed what are called “dead man” posts every 8’ to support the wall over time. They used rebar rods inserted into the wood from the top to keep the wall in place and slightly offset each layer of timbers leaning into the grading. I’ll include photos below for reference. A drainage system was built around the retaining wall to prevent it from collapsing due to heavy rain. We used a corrugated pipe (and enclosed it inside drainage fabric so weeds and roots can’t grow into the piping), then filled all around it with small stones. Once the treated wood has had time to cure we will stain the timbers to match all of the other wood elements inside and outside of our home, a dark walnut stain color. These timbers should last anywhere from 15-20 years.
IMG_7991

Stone

After the retaining wall was built and the surrounding area prepped, in came the stone to build the base for turf. We needed stone for the base of the turf as drainage. When it rains you want the water to filter through the turf and stone base allowing several inches for water to slowly seep into the ground to prevent flooding/puddling. After compacting the soil and laying one layer of weed barrier, we brought in 17 tons of crush and run. This is a fine granite based stone that is used to build the base for roadways.  We applied this to the entire 30’x35’ area at a roughly 3” – 4” depth. Seventeen tons was more than enough for this area, and actually allowed for enough extra to build a 13’x13’ fire pit area (which was an afterthought given we had the extra stone). The next step was compacting the crush and run, and adding in 1” of granite dust on top. This is a finer form of granite great for leveling, smoothing, and creating a soft concrete like finish. We also used this to fill around the larger decorative stones in the fire pit area. Once this was also compacted we layered on an additional layer of weed barrier for good measure.
IMG_7987
IMG_7994
IMG_7992

Tree Removal

We have removed many larger trees around our home over the years to open up the yard and create usable space while also making sure our home is safe from tree damage if a storm were to hit. Since the plan was to install a playset that would remain for the foreseeable future, we wanted to make sure there were no trees that would eventually need removal. The cost to remove trees goes up as the complexity of cutting them down increases. We had one sweetgum tree that would have been between the playset and our privacy fence that we went ahead and had removed. We also removed two other sweetgum trees that had limbs that hung over the play area because these trees drop hundreds of the annoying spiked balls each year. This will help keep the area slightly cleaner and easier to blow off when ready for use.

Artificial Turf

Since we live in Georgia, a state with several textile manufacturers, we were able to find a turf distributer easily online. We worked with U.S. Sports Turf in Dalton, GA, and purchased our turf directly through them. They offered a wide variety of artificial turfs and had a great selection of clearance products. Generally, the heavier the face weight the higher the quality when it comes to artificial turf. We selected three products we were interested in online, and had samples mailed to us. Once we received the samples we analyzed them outside next to our existing grass that was going to remain. We decided on a 94 oz. turf that had some brown and green tones (to give a more natural appearance). The price was $2.75/sq. ft. marked down to $1.39/ sq. ft. Typically artificial turf rolls run at a standard of 15’ wide and then are cut down to the length needed for your project. For the most efficient installation, it is best to keep the area in which you are applying turf divisible by 15. Each roll weighed about 500 lbs., so make sure you plan the delivery when you will have help to off load, or you’ll need a some sort of machine to provide the lifting power.  We found a local installer who applied the turf to our subbase in one day! This included seaming together the two rolls and nailing in the turf. The last step was brushing in a few tons of sand to help the fibers stand up and fill in any small inconsistencies in the area.

Finishing Touches

The last step to our backyard renovation was to add the finishing touches. We decided on a chiminea instead of a traditional 360-degree fire pit. Chimineas allow for better ventilation (funneling the smoke up and away from the surrounding area) and provides a cleaner more efficient burn. We also liked the idea that it is mobile and can be moved as needed. Our chiminea is cast aluminum. This is more durable than clay and ideal for climates like Georgia’s. It is much lighter than cast iron, and when it begins to fade we can simply use black high heat spray paint to touch it up. As for chairs around the fire pit area, we went with an inexpensive plastic option I found at Lowe’s. These adirondack inspired chairs are my favorite because they are durable, have a minimal recline (so you don’t struggle trying to get out of them), and they have a built-in drink holder! The last thing we added to the outdoor area was industrial grade café string lights. I found lights online that are AMAZING quality. They are very thick rubber, and meant to withstand year-round use in the elements. They came with the bulbs as well. You can shop the 100ft version I purchased HERE. We also purchased the galvanized steel support string to provide extra durability in wind, rain, or snow.

Hope you enjoyed!

Overall, I truly hope that this recap of our project inspires you in some way when considering your own outdoor project. As always, feel free to comment with any questions you may have regarding this post! I am always happy to assist when possible.